Thanks to Teklan VPN
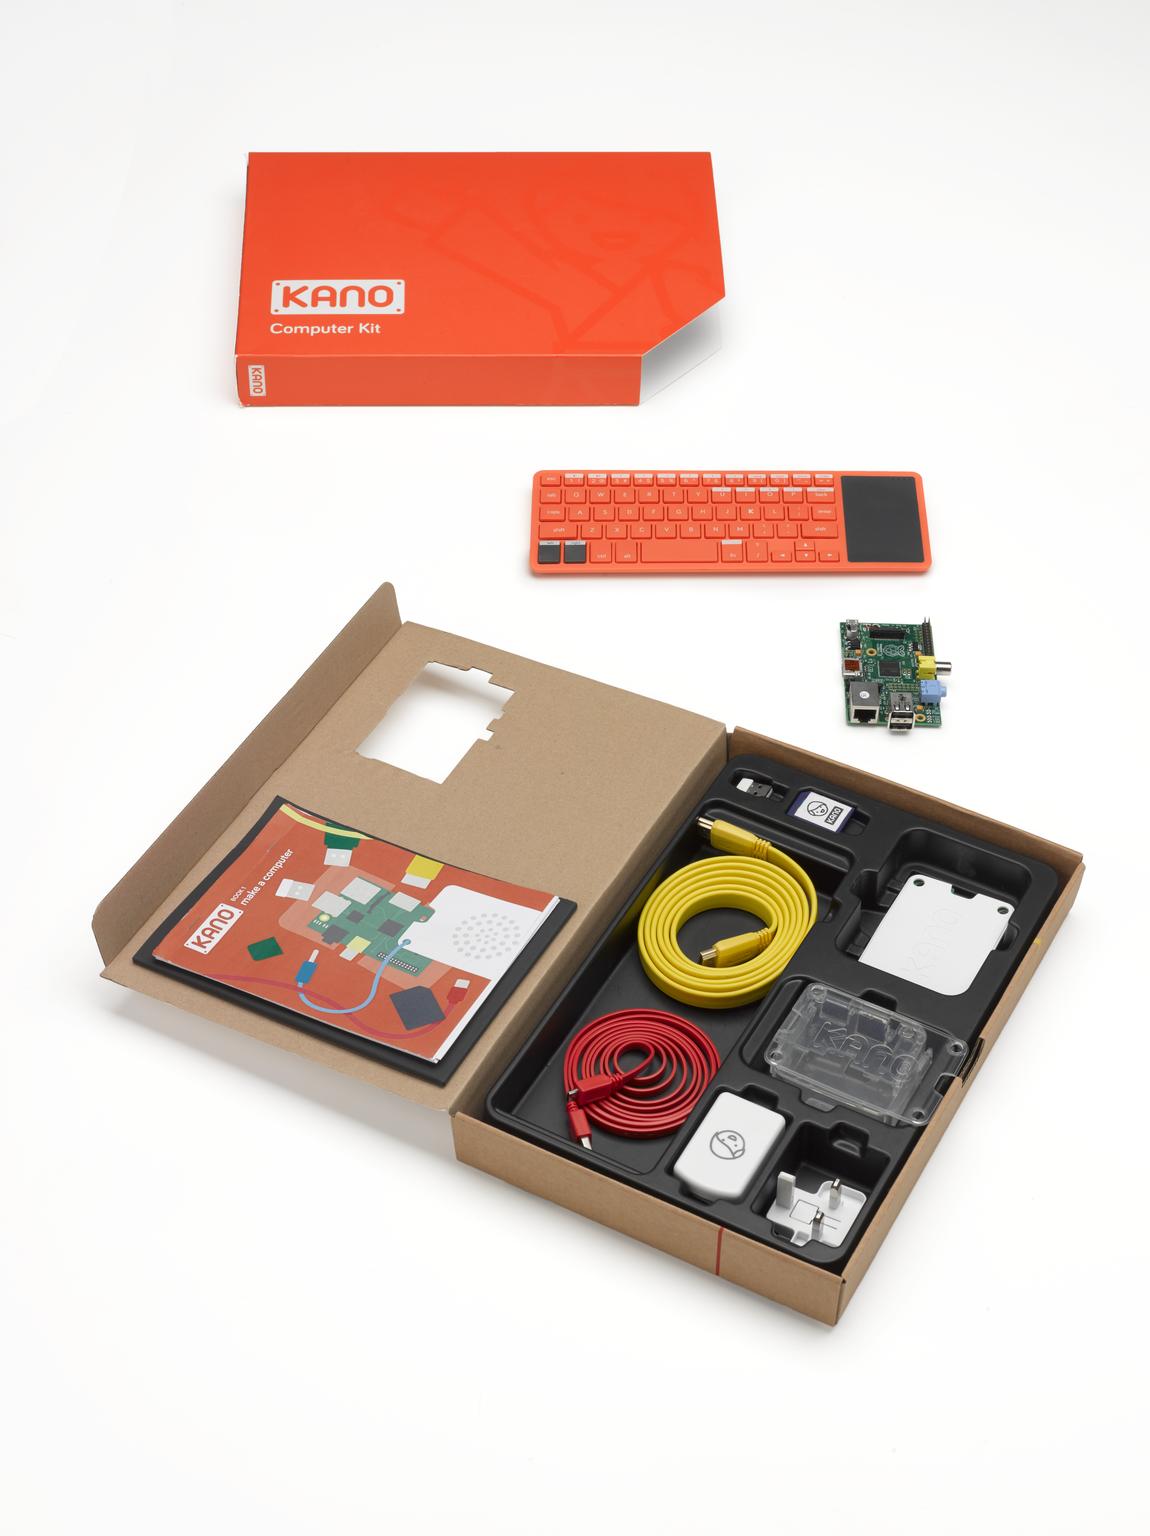
A big thank you to Teklan VPN for providing us with a raspberry pi and some of their time. Their support has made it possible for us to create and share this guide with you.
We appreciate Teklan VPN’s contribution to our project – Give them a look if you need a reliable VPN service from a UK team!
Introduction
Ah, the Internet—a vast expanse of information, entertainment, and unfortunately, an ungodly amount of advertisements. If you’ve ever been interrupted by a pop-up ad while reading an article or had your YouTube video paused for an unskippable commercial, you know the irritation. Enter Pi-hole: your ticket to an ad-free browsing experience, straight from your local network.
Pi-hole is a network-wide ad blocker that acts as a DNS sinkhole. Unlike browser-based ad blockers, Pi-hole intercepts traffic at the network level, thereby filtering content before it even arrives at your device. This is your comprehensive guide to setting up Pi-hole for a more private and ad-free browsing experience.
Pre-requisites
Hardware
- Raspberry Pi: Models 3B and above are highly recommended.
- Micro SD Card: At least 8GB.
- Power Supply: Compatible with your Raspberry Pi model.
- Ethernet Cable: For a stable connection.
Software
- Raspbian OS: Latest version.
- SSH Client: Like PuTTY for Windows or Terminal for MacOS/Linux.
- Balena Etcher: For flashing Raspbian OS onto the SD card.
Networking Gear
- Router: With access to the admin console.
- Internet Connection: For obvious reasons.
Step 1: Preparing the Raspberry Pi
Flash Raspbian OS
- Download the latest version of Raspbian OS from the official Raspberry Pi website.
- Insert your micro SD card into your computer and open Balena Etcher.
- Select the Raspbian OS image and the target SD card, then click “Flash!”
Enable SSH
- Remove and re-insert the SD card.
- Navigate to the ‘boot’ partition and create an empty file named
ssh—no extension.
Boot and Connect
- Insert the SD card into the Raspberry Pi.
- Connect the power supply and ethernet cable.
- Identify the Raspberry Pi’s IP address from your router’s admin console.
Step 2: Installing Pi-hole
SSH into Raspberry Pi
- Open your SSH client and connect to the Raspberry Pi using its IP address and the default username (
pi) and password (raspberry).
Run Pi-hole Installation Script
curl -sSL https://install.pi-hole.net | bash
Follow the on-screen instructions, selecting your preferences when prompted.
Step 3: Configuring Pi-hole
Access Admin Console
Navigate to http://pi.hole/admin or http://<Your_Raspberry_Pi_IP>/admin to access the Pi-hole admin console.
Update Block Lists
- Go to Settings > Blocklists.
- Add or remove blocklists as you see fit.
Configure DNS
- Go to Settings > DNS.
- Choose upstream DNS servers like Google, Cloudflare, or custom DNS if you have one.
Step 4: Pointing Devices to Pi-hole
Router-level
- Access your router’s admin console.
- Locate the DNS settings.
- Replace the existing DNS addresses with the Raspberry Pi’s IP address.
Device-level
For individual devices, you’ll need to manually set their DNS settings to point to the Raspberry Pi.
Step 5: Testing and Validation
Visit a site notorious for ads. If you see no ads, and the Pi-hole admin console reflects queries being blocked, you’re all set!
Conclusion
You’ve now successfully set up Pi-hole, providing your network with an additional layer of security and an ad-free browsing experience. The days of irritating pop-ups and banners are now behind you. Enjoy your new, cleaner digital landscape!
